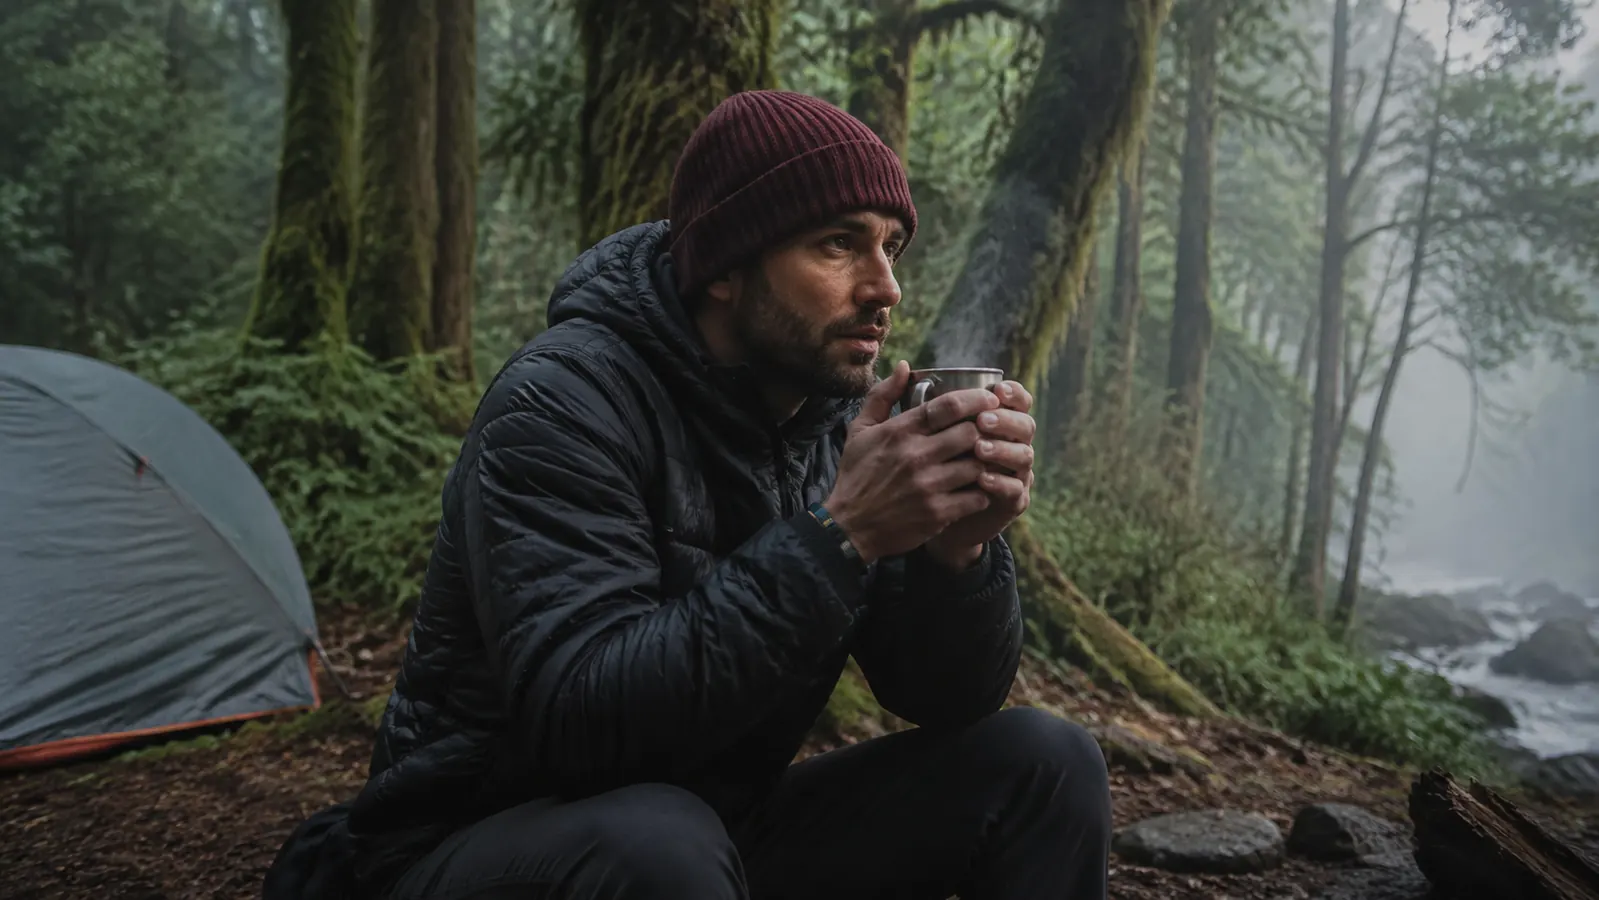
I have been on enough cold mornings above 5,000 feet in the Cascades to know that a slow boil is one of the most demoralizing things in backcountry camping. You are standing there at 6 a.m. in 28-degree air, your fingers are numb, and you are watching a full 100g canister drain away while your water barely simmers. Something is wrong, and it usually is not the stove. It is the setup. Wind management, canister temperature, pot selection, and stove positioning all feed into how fast your water actually hits a rolling boil. Get those four things right and you can boil a liter in under three minutes on a stove that costs less than a fast-food lunch. I use the BRS-3000T as my primary trail stove, and this guide walks through exactly how I set it up for fast, efficient boils in real field conditions.
This is not a theoretical writeup. Every step here comes from actual use in Olympic Peninsula drizzle, sub-freezing Cascades mornings, and one memorable stretch on the Wonderland Trail where I boiled water twelve times in four days on a single 100g canister. That last point matters because fast boils and fuel efficiency are the same thing. The faster you boil, the less fuel you burn. The system below gets you both.
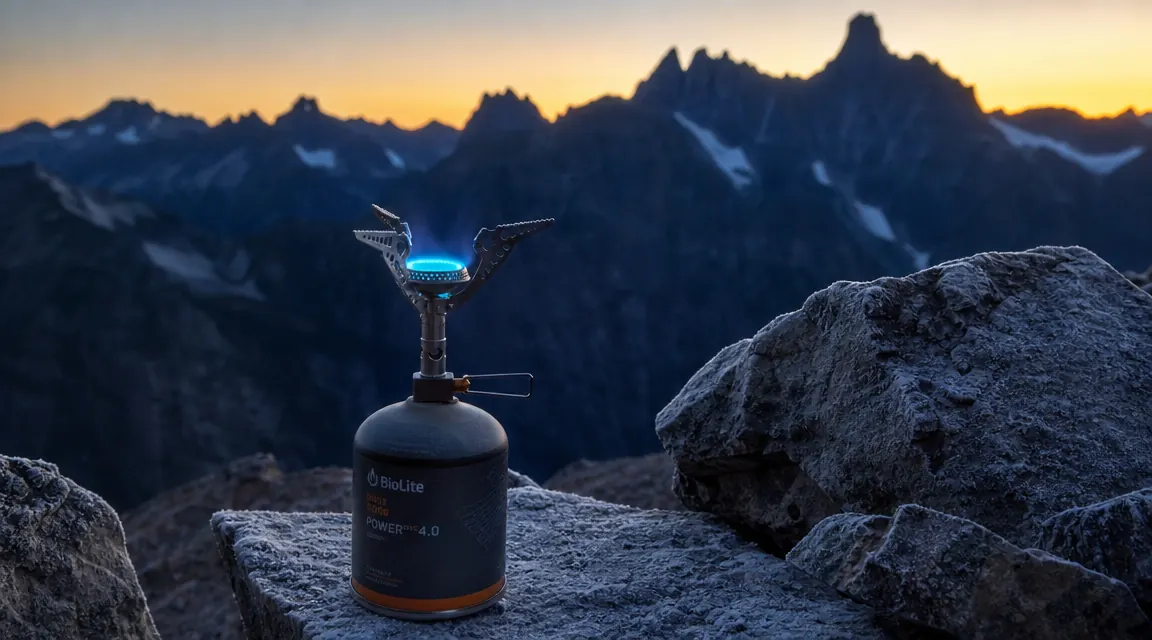
If your current stove is the problem, this 25-gram titanium burner has handled every trip I have thrown at it.
The BRS-3000T weighs 25 grams and costs less than most trail lunches. It runs on any standard isobutane-propane canister and has a 2,700 BTU output that beats stoves costing five times more. Over 3,800 reviews on Amazon and nearly every long-distance hiker I know has one in their kit.
Amazon Check Today's Price on Amazon →Step 1: Choose the Right Canister Size for the Trip
Canister selection is the first place people go wrong. A 230g canister weighs more than it needs to for a two-night trip. A 100g canister runs dry faster than you expect on a five-day trip if you are cooking two meals a day plus morning coffee. My rule: one 100g canister for up to three days of light use (coffee and oatmeal in the morning, rehydrated dinner at night). Four to six days, bring a 110g and a spare 50g. Seven or more days, bring a 230g.
For the BRS-3000T specifically, the rated fuel consumption is around 7 to 8 grams per 1,000 BTU of output. At the 2,700 BTU output the stove is rated for, you are burning through about 20 grams of fuel to fully boil a liter of cold water under calm conditions. A 100g canister gives you roughly 5 liters worth of boil capacity in ideal conditions. In wind and cold, expect closer to 3.5 to 4 liters per 100g. Plan accordingly and never start a trip with a partially used canister you did not weigh.
One more thing on canisters: isobutane-propane blends perform meaningfully better in cold weather than straight butane. The BRS-3000T works with any threaded Lindal valve canister, which covers MSR, Jetboil, Primus, and most name-brand options. Avoid generic canisters from brands you have never heard of. The fittings are sometimes slightly off, which creates a seal issue you do not want to discover at camp.
Step 2: Warm the Canister Before You Light Up
This is the single most underused technique in backpacking. Isobutane-propane canisters rely on internal vapor pressure to push fuel to the burner. When the canister temperature drops below about 40 degrees Fahrenheit, that pressure drops noticeably, and your flame weakens. Below 25 degrees, some canisters barely function at all.
My fix: before I get out of my sleeping bag, I pull the canister from my pack and tuck it into my bag against my core for 10 minutes. Body heat brings a 100g canister up from near-freezing to somewhere around 70 to 80 degrees, which restores full vapor pressure. In the field this is the difference between a strong blue flame and a weak orange flicker. When I did the Wonderland Trail loop, I had mornings that hit 22 degrees and the stove still lit cleanly because I had warmed the canister against my side. Takes almost no effort. Saves real fuel and time.
If you forget to pre-warm or you are mid-day and just need a quick boil, wrap both hands around the canister for two minutes before lighting. Even a modest warmup helps. Some people use an insulating sleeve designed for canister stoves, and those work too. The principle is the same: warm fuel vaporizes better.
Step 3: Set Up a Windscreen Before You Boil Anything
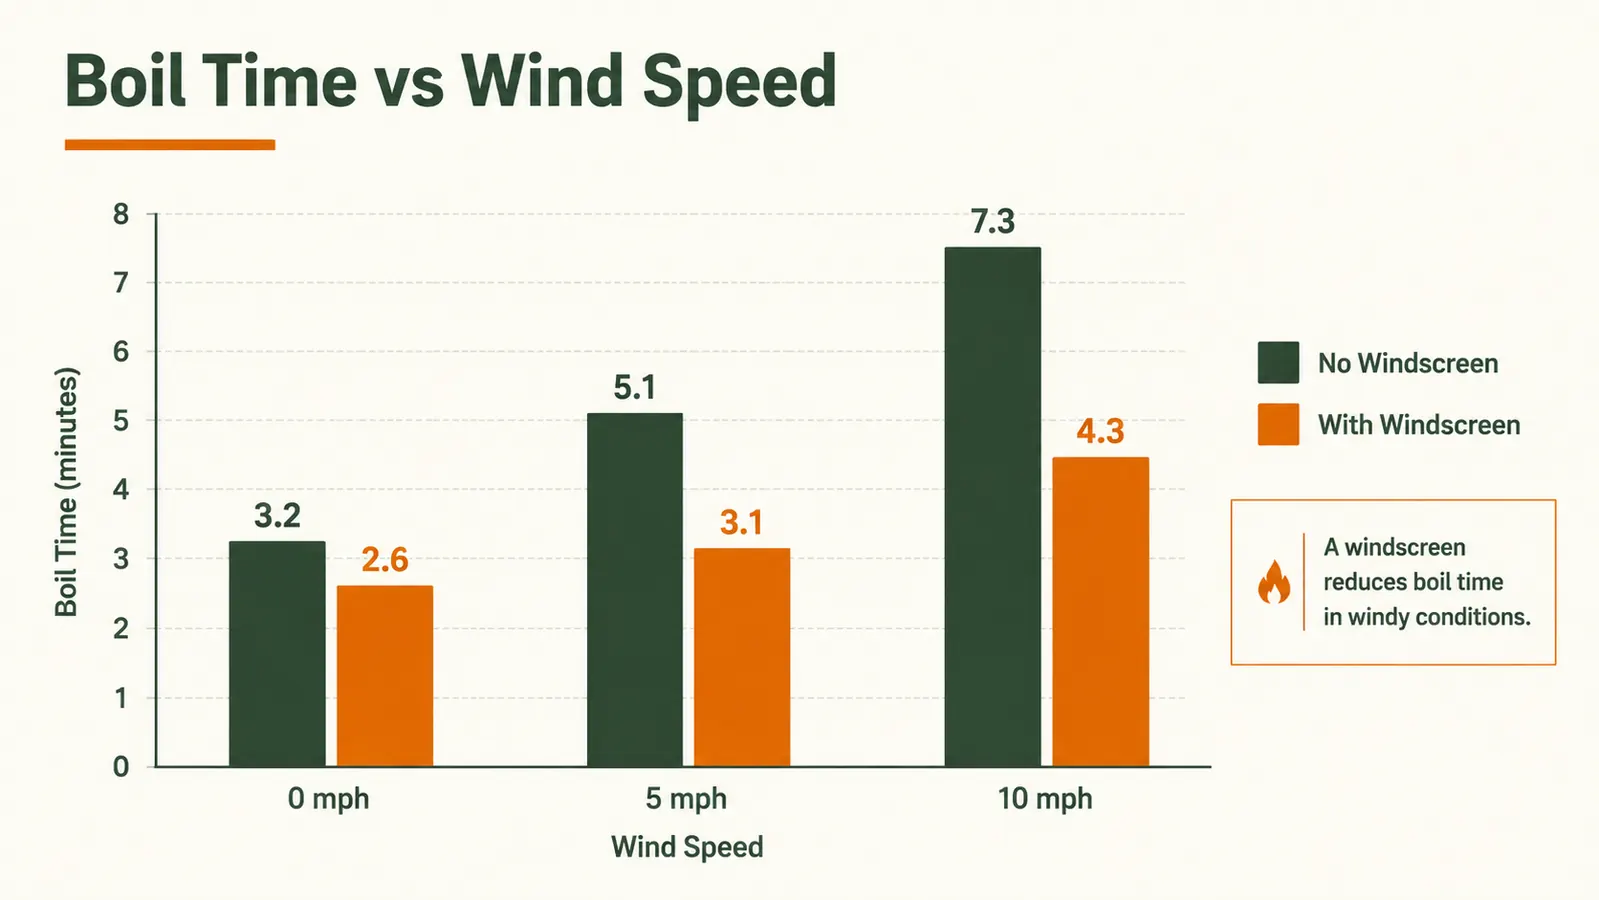
Wind is the single biggest variable in boil time. At 10 miles per hour, an unshielded canister stove loses so much heat off the pot sides that boil times can double or triple. I have sat on an exposed ridge in the Olympics and watched a stove run for seven minutes on a liter that should have boiled in two and a half. Wind kills efficiency fast.
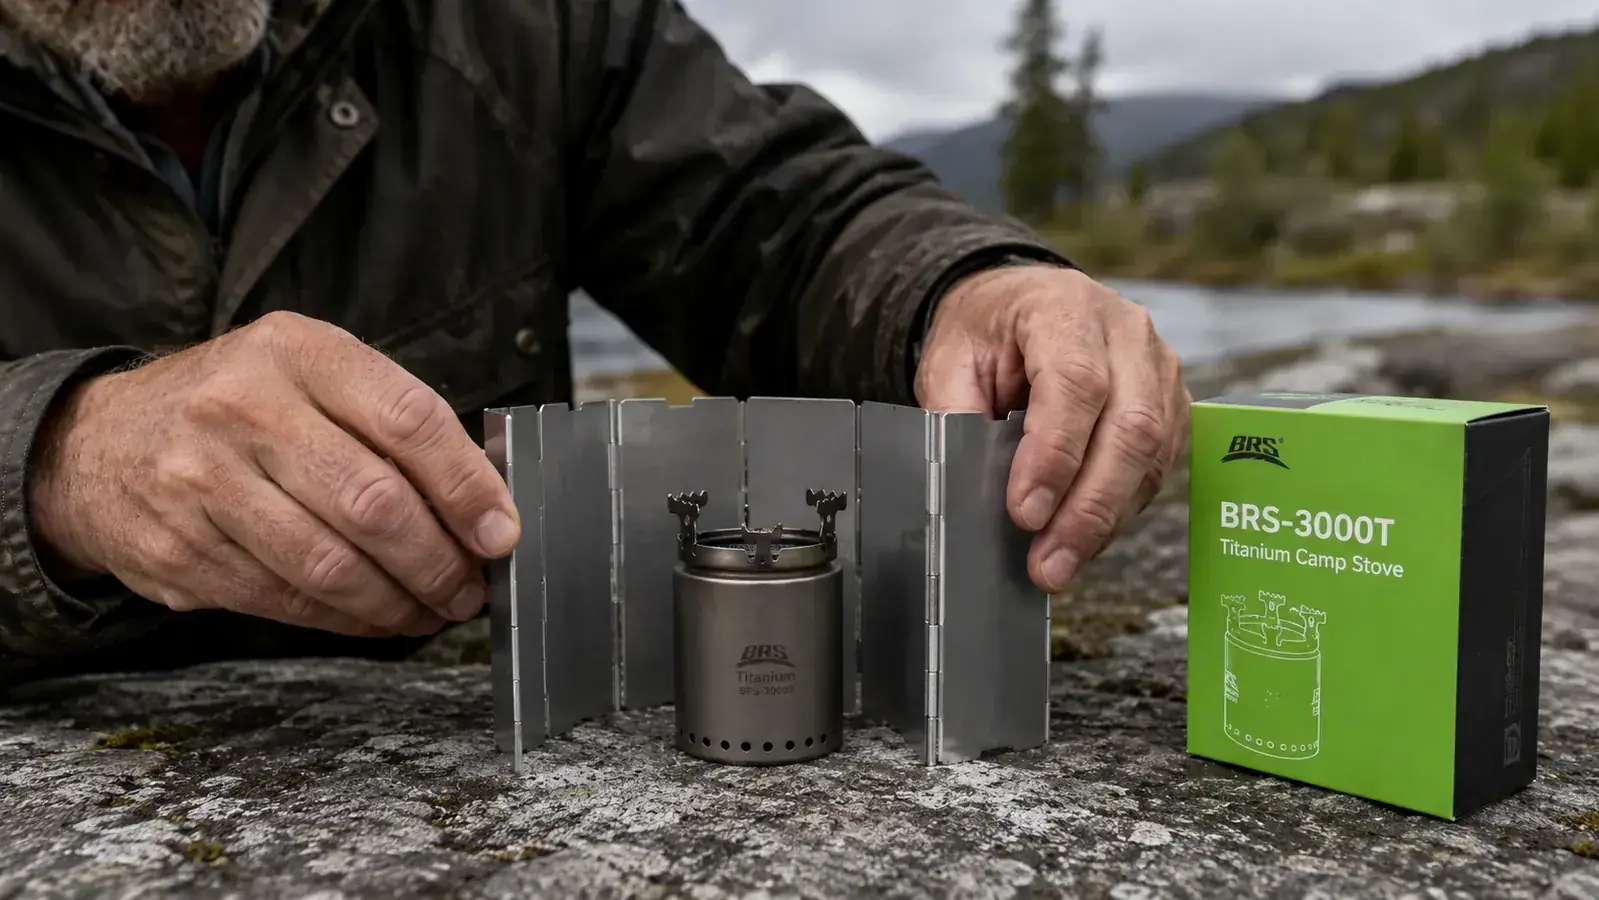
The BRS-3000T is a top-mounted burner, which means you cannot use a full wraparound windscreen that extends below the canister the way you can with some remote-canister stoves. If you close off the bottom around the canister, you trap heat and can cause the canister to overheat, which is a pressure safety risk. What works: a partial windscreen that protects the pot and the burner head without enclosing the canister itself. A simple folded piece of heavy-duty aluminum foil (about 8 by 12 inches, folded to four layers) weighs almost nothing and blocks enough wind to cut boil times significantly. I bring a dedicated piece of foil on every trip.
Better yet, use natural terrain. A boulder, a log, your pack propped at the right angle, the slope of a hillside. Free windscreen with zero grams added to your kit. On exposed campsites, I position my stove in the lee of whatever is available, then use the foil strip as a secondary buffer for the remaining exposed sides.
Wind is the reason your water takes forever to boil, not your stove. A partial windscreen and a warm canister cut my boil times almost in half on exposed Cascades mornings.
Step 4: Use the Right Pot, and Position It Correctly
Pot selection has more impact on boil time than most people realize. The two variables that matter are diameter and material. A wider pot catches more of the burner's flame spread, which means less heat escapes up the sides. A titanium or hard-anodized aluminum pot conducts heat faster than a thin stainless steel mug. My go-to is a 900ml hard-anodized aluminum pot with a lid. The BRS-3000T flame spread at full output covers a roughly 4-inch circle at the pot base, so a pot narrower than 4 inches loses efficiency.
Keep the lid on. This is obvious but people forget it when they are tired or cold. A loose-fitting lid reduces boil time by 30 to 40 percent versus no lid. If you are boiling for freeze-dried meals, fill the pot to just the amount of water you need. Boiling a liter to rehydrate a two-cup meal is a waste of fuel. Measure it at home once with a marked cup and you will know your fill lines without thinking about it.
Center the pot exactly on the burner arms. The BRS-3000T has three folding arms, and they will support pots up to about 1 liter comfortably. For anything wider than a 5-inch base, the stove gets a little top-heavy and can tip on uneven ground. On anything other than flat rock or packed dirt, I carry a small square of closed-cell foam to level the setup. Stability matters more than it seems when you have a cup of boiling water on a loose surface.
Step 5: Manage the Flame, Do Not Just Run It Wide Open
Most people crank the BRS-3000T to full blast and walk away. That is usually the right call for getting to a boil fast, but there is a nuance worth knowing. At very high output, the flame can actually lift off the pot base slightly in calm conditions, which means the heat is flowing around rather than into the pot. If you see a soft blue ring at full throttle and the water seems slow, try backing off the valve about 15 to 20 percent. This brings the flame cone into direct contact with the pot and often improves heat transfer. You will hear a slightly quieter burn and see the flame tighten against the metal.
Once the water hits a full rolling boil, cut the flame immediately. There is no benefit to boiling longer. For purification, a full boil is sufficient at any altitude below 6,500 feet. Above 6,500 feet, boil for one minute. Above 13,000 feet, boil for three minutes. Most Cascades campsites fall below 6,500 feet, so a hard rolling boil and off is the correct call.
One habit worth building: do not unscrew the canister while it is still hot. The valve seals better when both parts are at ambient temperature. I always let the stove cool for 90 seconds before removing the canister, especially on multi-day trips where the same canister gets connected and disconnected repeatedly. Repeated thermal cycling with a hot valve shortens the seal life.
What Else Helps
A few extra details that do not fit neatly into the steps above but make a real difference in the field. First, elevation affects boil temperature, not boil time in the way most people assume. Water boils at a lower temperature at altitude, which actually means it gets to a boil faster than at sea level with the same heat input. The tradeoff is that the lower boiling temperature means freeze-dried meals need a longer soak time at altitude. Budget an extra 3 to 5 minutes of rehydration at anything above 8,000 feet.
Second, start with the coldest water you can collect. This seems counterintuitive but it is not. Colder source water has less dissolved gas and often comes from higher-oxygen sources, which affects how it behaves on the stove. More importantly, cold water is more dense and holds heat energy more efficiently once it starts moving. In practice the difference is minor, but if you are trying to squeeze every second out of a boil, start with the coldest source water available.
Third, practice the full setup at home before your first trip. Lighting the BRS-3000T in the dark with cold fingers is a skill. The igniter on the stove is basic, and in cold or wet conditions it sometimes takes several tries. I carry a backup Bic lighter in my hip pocket for exactly this reason. Knowing the stove's quirks at home means you are not fumbling with it at 5,500 feet in October rain.
I carry a backup Bic lighter on every trip. The BRS-3000T igniter is fine in summer, but in October rain at altitude, the Bic has never let me down.
The BRS-3000T is 25 grams and handles everything in this guide without complaint.
If you are still using a stove that weighs more than 4 ounces and costs over $100, you are paying for a name, not performance. The BRS-3000T has over 3,800 reviews, outputs 2,700 BTU, and fits in the palm of your hand. It has been my primary stove on every Cascades trip for the past two years.
Amazon Check Today's Price on Amazon →