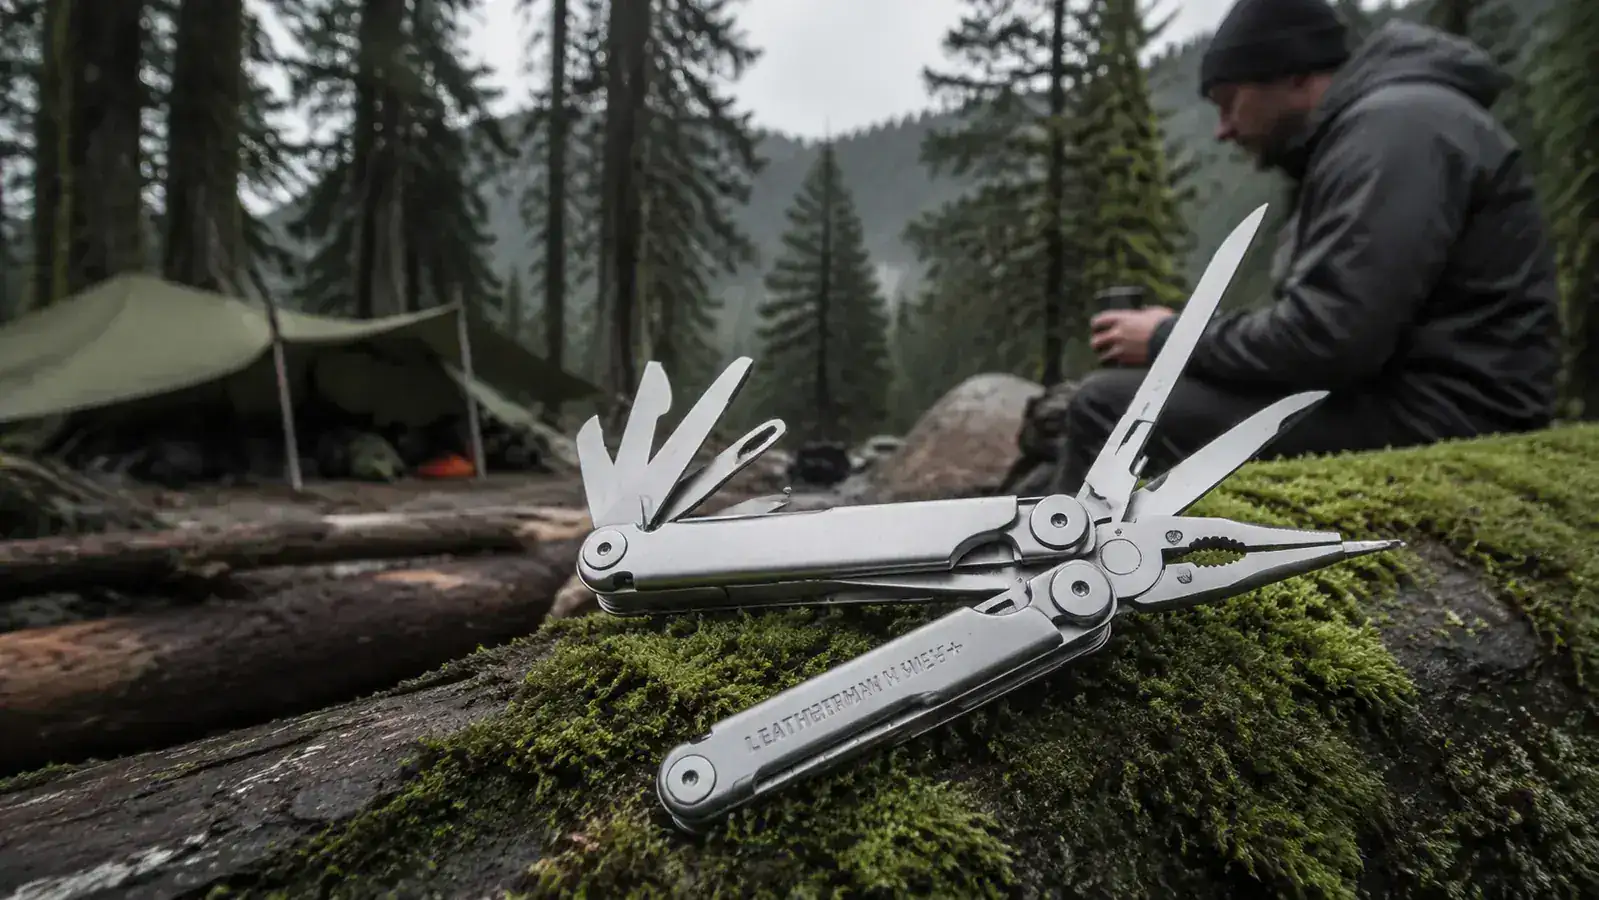
I want to be clear up front: this is not a survival stunt article. I am not suggesting you ditch your knife, hatchet, and saw and rely on a multi-tool alone for a serious backcountry trip. What I am saying is that if you carry a good multi-tool, you can do more with it than most people realize. Last October I ran a two-night solo at a dispersed site in the Mount Baker-Snoqualmie National Forest with intentionally minimal tools, using the Leatherman Wave+ as my primary workhorse for everything from shelter setup to cooking to camp repairs. What I found was that a quality multi-tool can handle the core camp-building tasks when you understand which implement to reach for and in what order.
This guide walks through those tasks step by step. Each section names the specific Wave+ tool I used, how I used it, and where the limits are. If you already own a Wave+ and want to know how deep that 18-tool package actually runs, read on. If you're still shopping, see my full four-year field report at the bottom of this page.
If your camp knife is your only tool, you're already one broken blade away from a bad night.
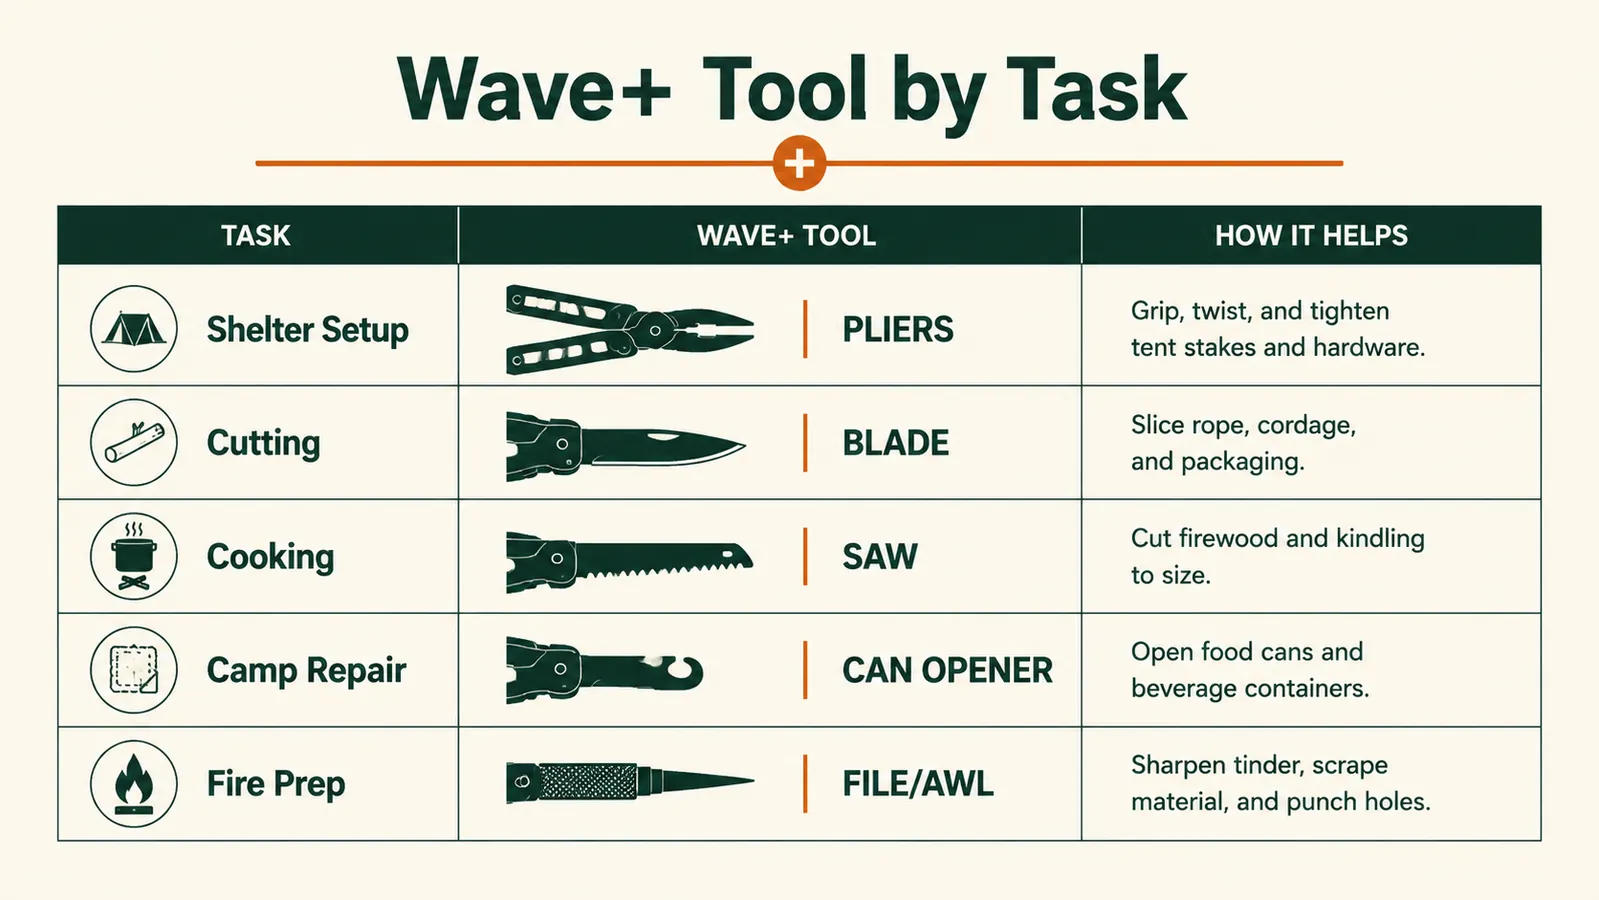
The Leatherman Wave+ gives you 18 tools in a 8.5-oz package. Pliers, saw, blade, file, scissors, awl, can opener and more. All lockable. All one tool.
Amazon Check Today's Price on Amazon →What You're Actually Working With
Before getting into the steps, a quick rundown of the Wave+ implements I drew on most. The needle-nose pliers and regular pliers handle anything that requires grip or crimping, which comes up more at camp than you'd expect. The 420HC stainless large blade is 2.9 inches of working edge, enough for most camp cutting tasks. The wood/metal saw is a small-tooth pull saw, slow but functional on branches up to about two inches thick. The scissors are outside-accessible, spring-loaded, and sharp enough for cordage and first aid work. The awl punches holes through leather, nylon, and soft wood. The can opener handles food cans and doubles as a small scraper. Rounding it out: a fine-edge small blade, wire cutters, a package opener, a ruler, and a wire stripper. All main tools lock open. That matters when you are pressing hard into a cut and do not want a blade folding onto your fingers.
Step 1: Choose and Clear Your Site
Before you put up any shelter, spend fifteen minutes on site selection. In the PNW that means reading the ground and the tree canopy together. I look for high ground that will not pool water in an overnight rain, a wind break of at least a few mature conifers to the west or southwest since that is where the weather typically pushes from in the Cascades, and a flat spot with no widow-makers directly overhead. None of that requires a tool. It requires looking up before you look down.
Once I have the spot, I clear a six-by-eight-foot sleeping footprint. Dead branches, pine cones, and any root humps get moved by hand. Anything embedded in the duff, like a buried root that would bruise your hip all night, I pry up with the Wave+ pliers. The jaw grip on the pliers is enough to grab a root knob and lever it loose with a twist. Takes about two minutes. Now the ground is ready for your sleep system.
If you need to clear a line for a ridgeline between two trees, the Wave+ wire cutters handle thin deadfall sticks and small bramble canes cleanly. For anything bigger than a half-inch diameter branch, I step to the saw. I'll cover that in Step 2.
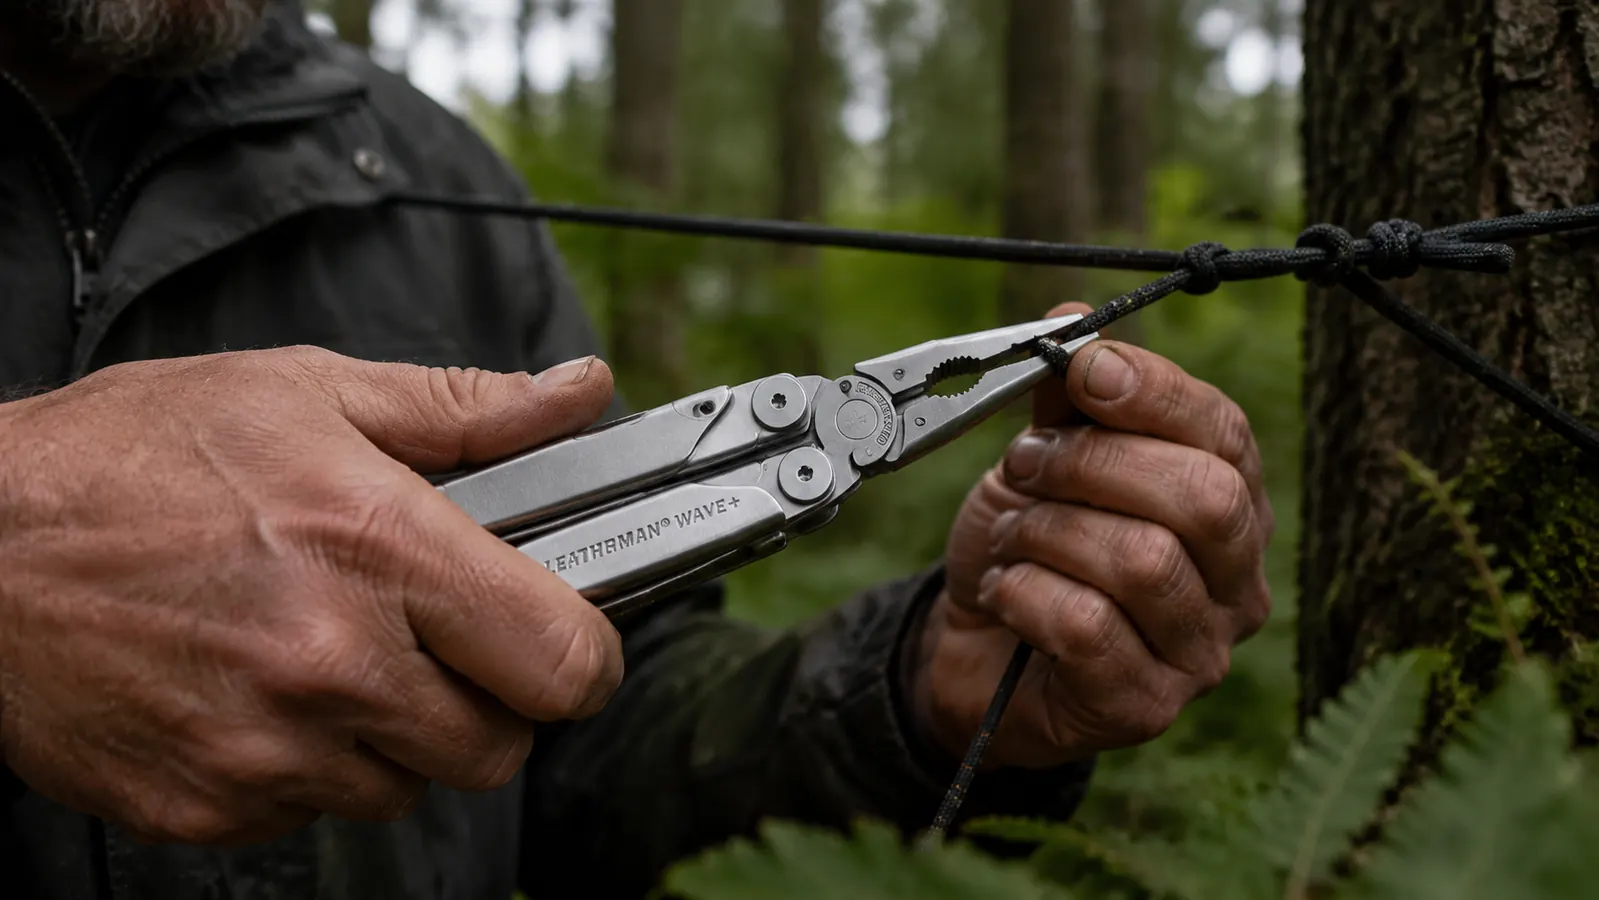
Step 2: String Your Ridgeline and Stake the Shelter
A tarp or bivy fly needs two anchor points and some form of ground staking. For the ridgeline I use about 30 feet of 550 paracord, which I always carry coiled in my pack. The Wave+ scissors cut paracord cleanly in one squeeze, no fraying if you cut fast. Fusing the ends to stop fraying means using a lighter, not the multi-tool, but everything from tensioning to tying off I handle with the pliers. I loop the cord around the tree, feed it back through, and use the needle-nose jaw as a tensioning grip to pull the double half-hitch tight before finishing the knot by hand. It sounds fussy but takes about four minutes once you've done it a few times.
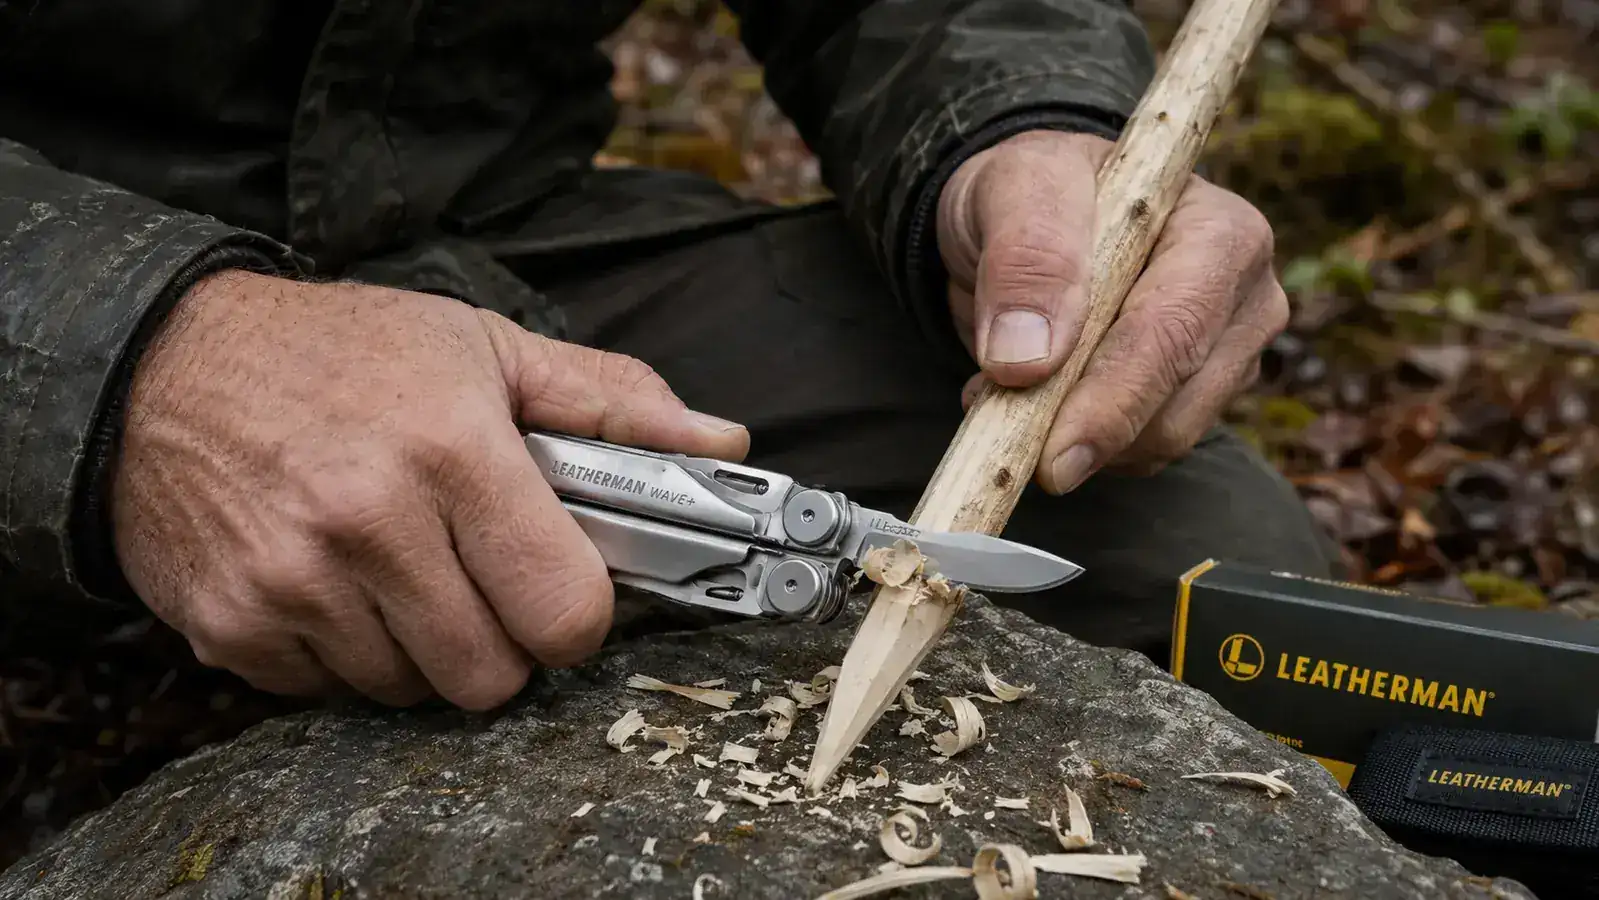
For stakes, if you have aluminum or titanium stakes in your kit you're set. If you forgot them or broke one on rocky ground (it happens), the Wave+ saw can cut a functional stake from a green alder or maple branch in about three minutes per stake. Cut a length of 12 to 14 inches, then use the large blade to bevel the driving end into a point and carve a small notch near the top to catch your guyline. The blade is not a full-size knife so go slow and let the edge do the work rather than forcing pressure. I've made four stakes in a session without any trouble. They won't last a week but they'll hold through one night.
Step 3: Prep Your Fire and Tinder
In the PNW, fire prep is almost always a wet-wood problem. Even in August the duff stays damp and the underside of bark holds moisture. The Wave+ wood saw earns its keep here. I use it to cut into the dry inner core of any standing dead wood I can find, working past the outer wet layer to get at the dry material inside. The saw is slow compared to a dedicated folding saw, but it does get there. For a branch two inches across, I'm cutting in about 90 seconds.
The large blade handles feather sticking and shaving off kindling curls from the dry core pieces. Keep your cuts thin and angled, and build a small pile before you light anything. The Wave+ file can score a ferro rod if your lighter fails, though I treat fire-starting as its own category and carry a BIC and a ferro rod as separate items rather than depending on the multi-tool for ignition. What the Wave+ handles reliably is the fuel preparation work, which is where most failed fires actually break down.
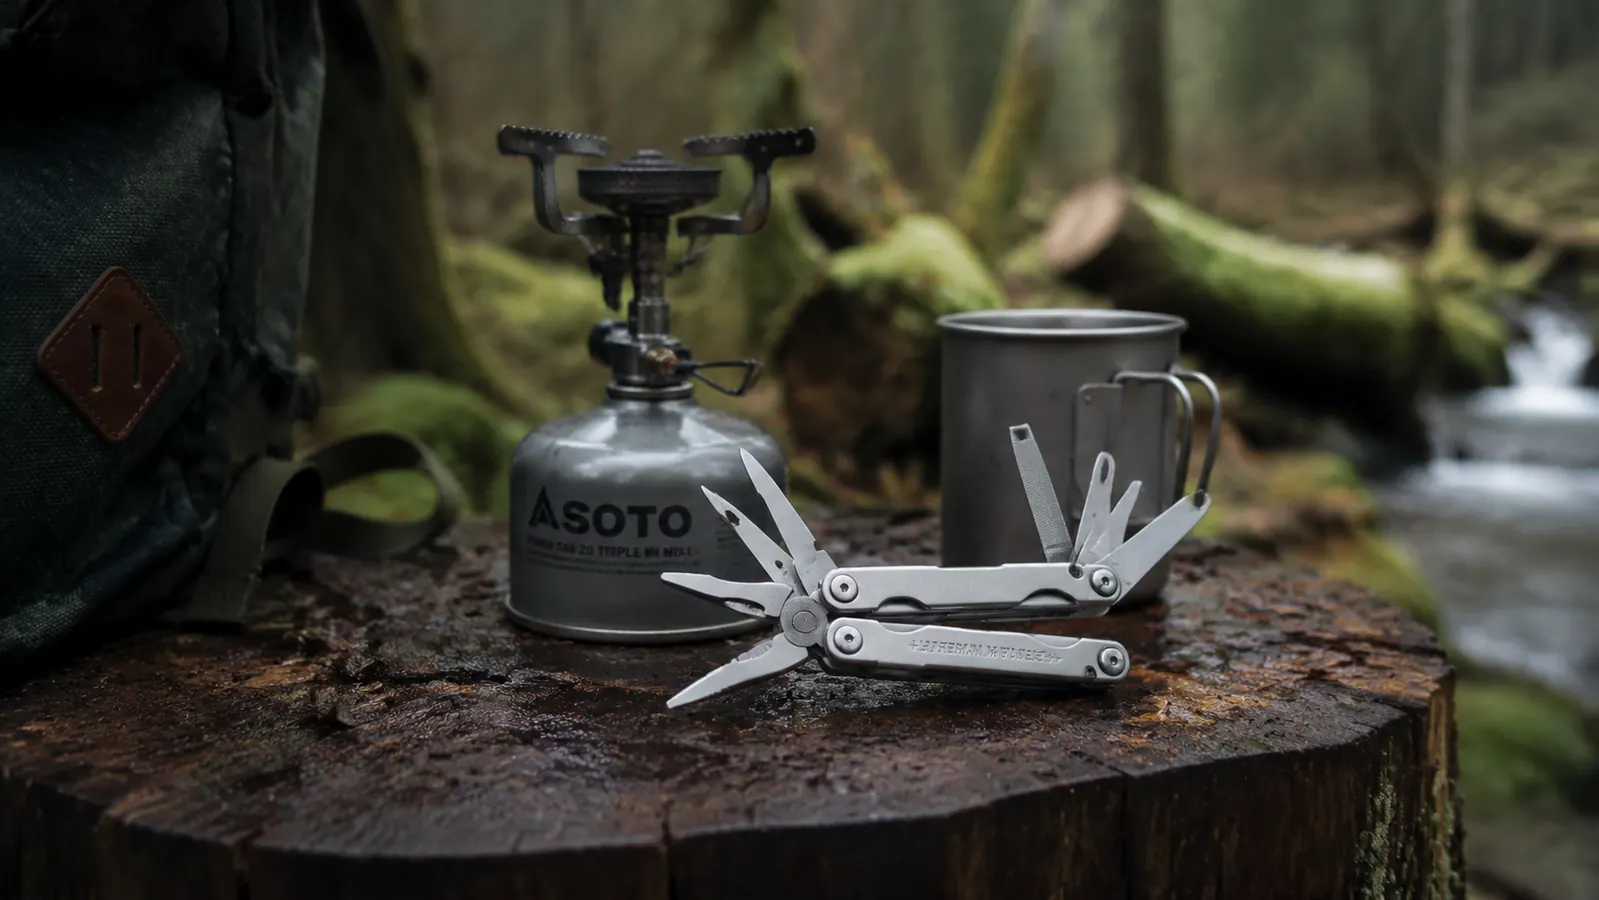
If a pot bail or camp stove fitting needs adjustment before you cook, that's a pliers task. The needle-nose jaw fits into tight spaces that fingers can't reach, and the regular jaw has enough grip for stuck canister fittings. I've reseated a stove head that cross-threaded onto a canister using just the Wave+ pliers and a slow counter-clockwise back-off followed by a clean re-thread.
Step 4: Handle Cooking and Food Prep
If you're on freeze-dried meals, you need boiling water and a way to open the pouch. The scissors handle the pouch, and the pliers grip a hot pot handle if you did not pack a separate pot lifter. I learned this on a trip where I left my pot gripper on my kitchen counter at home. The Wave+ needle-nose pliers are not ideal for gripping a 900ml titanium pot but they work well enough to pour without burning yourself if you go slow.
For actual ingredient cooking, the can opener works on standard cans. It's a pull-style opener that takes about twice as long as a standard can opener but does get through the lid without leaving jagged metal edges. I've opened cans of beans, tuna, and soup on various trips. The small blade handles cheese, salami, and anything else you'd slice with a camp knife. At 2.9 inches it is not a full chef's knife but for camp food prep it covers the job.
The Wave+ is not a replacement for a full tool kit. It's a replacement for the ten individual tools you forgot to bring or lost somewhere on the trail.
Step 5: Camp Repair and Pre-Departure Checks
Before you sleep and before you pack out, run a quick gear check. This is where the multi-tool earns the most respect. A broken tent zipper pull can be re-looped with the awl and a short length of paracord. A snapped compression strap buckle can be tied off using the pliers to thread and cinch cord through the strap loops. A loose boot lace grommet can be re-set or reinforced with an awl punch through the boot tongue and a piece of paracord as a replacement lace anchor. The small screwdrivers and Phillips head handle headlamp battery covers, stove burner screws, and pack frame bolts.
I had a tent pole section separate at a ferrule junction on a trip in the Okanogan-Wenatchee National Forest in 2023. The Wave+ pliers crimped the ferrule sleeve tight enough to hold through the remaining two nights. Not a permanent fix, but it got me home without sleeping under a collapsed tent. That kind of field repair is what separates a quality multi-tool from a cheap one. The Wave+ pliers have enough jaw strength to actually crimp and grip metal without slipping.
Before packing out, I also use the file to touch up the large blade edge if it took any abuse during the trip. The Wave+ file is coarse enough for a quick edge reset without removing much material. Takes about two minutes of edge work, and the blade comes home in working shape.
What Else Helps
Running a camp with only a multi-tool is a useful exercise but it is not an argument for minimalism at the expense of safety. A dedicated fixed-blade knife is faster for sustained cutting tasks than a folding blade. A pruning saw beats the Wave+ wood saw for any branch over two inches. A full fire kit, meaning lighter, ferro rod, and dry tinder in a waterproof bag, is not something to leave to chance. What I am arguing is that if your other tools fail, break, or get left on the kitchen counter, the Wave+ fills more of those gaps than any other single tool in your pack. It is the backup plan that is also a primary tool.
The Wave+ weighs 8.5 oz and fits in a sheath on a belt or pack strap. For year-round PNW camping where I might see 40-degree rain in October and sun-baked granite in July, it goes in the pack every time. I've had mine for four years without a tool failure. See the full breakdown in my long-term review linked below if you want more detail on what holds up and where the limits actually show up under sustained use.
The Wave+ is the one tool I've never wished I'd left at home.
Four years of PNW backcountry use, 50-plus trips, and it's still the first thing I pack. 18 tools. All lockable. Leatherman's 25-year warranty backs every one of them. Check today's price on Amazon and see if it's still at the price I paid.
Amazon Check Today's Price on Amazon →